Monday, July 25, 2011

Card to cheer a friend

It has been so hot here that I haven't been able to stamp much.  My craft room is the hottest room in the house, UGH!  But I was home on Wednesday morning, and it was cooler so I got busy!
The card base is Pear Pizzazz.  The next layer is Daffodil Delight, and I ran it through the Big Shot on the Fancy Fan letterpress plate without any ink.  It's a very subtle pattern!  The DSP from the Flirtatious pack, and it's cut out with the Top Note die.  The flower is made with the Fun Flowers die, and the base of it is a doily from the Flirtatious DSP.  The doilies come in Pumpkin Pie and Melon Mambo, but the backs are white so you can make them any color you want!
Happy stamping!
Jana Signature

Tuesday, July 19, 2011

Inlaid embossing bookmark

We made this bookmark at last week's workshop.  What a great way to use up scraps of DSP!  I cut 5 pieces of DSP 1 X 2 and adhered them to a layer of Old Olive cardstock 5 1/4 X 2 1/4.  I ran that whole piece through the Big Shot in the Square Lattice embossing folder.  We adhered that to a piece of Cajun Craze 2 1/2 X 6.  That left room at the top to punch a hole and add 6" of Marina Mist narrow taffeta ribbon.  We added butterflies from the Beautiful Wings Sizzlit for some dimension.  Punched flowers would look great too!
Happy stamping!
Jana Signature

Friday, July 15, 2011

Strength and Hope card

Here's a card we made at my workshop last night.  It features the set Strength and Hope.  I love the butterfly in this set, and SU is donating $2 to the Breast Cancer Research Foundation for each set sold!
The card also features the new Flirtatious Specialty DSP.  That's where the doily came from!  There are 2 sheets of doilies.  You can use them as one big sheet in a scrapbook or cut them apart like I did.  The card base is 8 X 5 1/4 Whisper White with a back mat of Melon Mambo.  The DSP strip is 1 1/2 X 4 with the Dotted Scallop Ribbon border in Wisteria Wonder.  Hope is stamped in Wisteria Wonder onto Pretty in Pink, and the sentiment is stamped in Pretty in Pink.  The butterfly is Pretty in Pink edged with Wisteria Wonder.  (It looks good in Melon Mambo too!)
Happy stamping!
Jana Signature

Wednesday, July 6, 2011

New colors!

Today's card focuses on In Colors.  Three of them are new: Wisteria Wonder, Lucky Limeade, and Pool Party.  I added Blushing Bride, one of the 2010-2012 In Colors, and Basic Gray.  I used the Fancy Fan letterpress plate again for the background.  This time I used Basic Gray classic ink on it, and the effect is very subtle.
I inked the solid flower stamps first in VersaMark and then regular ink.  This allowed me to add Irridescent Ice EP for some sparkle.
Supplies:  Stamps: Awash with Flowers, Perfect Punches; Paper: Whisper White, Basic Gray, Wisteria Wonder; Ink: VersaMark, Basic Gray, Lucky Limeade, Blushing Bride, Wisteria Wonder; Accessories: Big Shot, Fancy Fan letterpress plate, Irridescent Ice EP, heat tool, Basic Gray taffeta ribbon, wide oval punch
Happy stamping!
Jana Signature

Tuesday, June 28, 2011

Simple sailing card

Hi all!  Sorry it's been so long since I last posted.  I flew home from CA last Tuesday; thanks to bad weather, it took forever for me to get home.  Then I had to get back into the swing of the home routine.  Somewhere along the way, I lost my stamping mojo!
This card is for my BIL, who had bypass surgery last week.  I stamped the sailing image from Uncharted Territory onto Baja Breeze cardstock using Chocolate Chip ink.  The cardbase is Baja Breeze.  The next layer is Chocolate Chip.  Notice the texture on it?  That's from a new letterpress plate from the new catalog!  It's called Fancy Fan.  I inked it up with Chocolate Chip craft ink.  It leaves a slight impression and inks up the paper with the design.  The ribbon is 2 layers: retired Baja Breeze ribbon topped with Chocolate Chip grosgrain.
Happy stamping!
Jana Signature

Monday, June 20, 2011

Flower tutorial

Here's my tutorial on how to make a fun dimensional flower without any fancy tools.  (Click here to see the finished flower on a card.) I love my Big Shot, but I couldn't bring it with me on my business trip.  Here's how I made a flower with just DSP, a pen, scissors and a sponge.
Start by tracing circles onto the DSP or cardstock.  I made 3 different sizes of circles, using the top and bottom of a mug and the bottom of a glass.

To make the circles into flower shapes, I cut out the circles.  Then I cut slits in towards the center and rounded off the edges.  For the biggest circle, I cut 5 slits to make 5 petals.  The others have 4.  Don't worry about making them perfect because they're going to be all crumpled up and layered anyway.

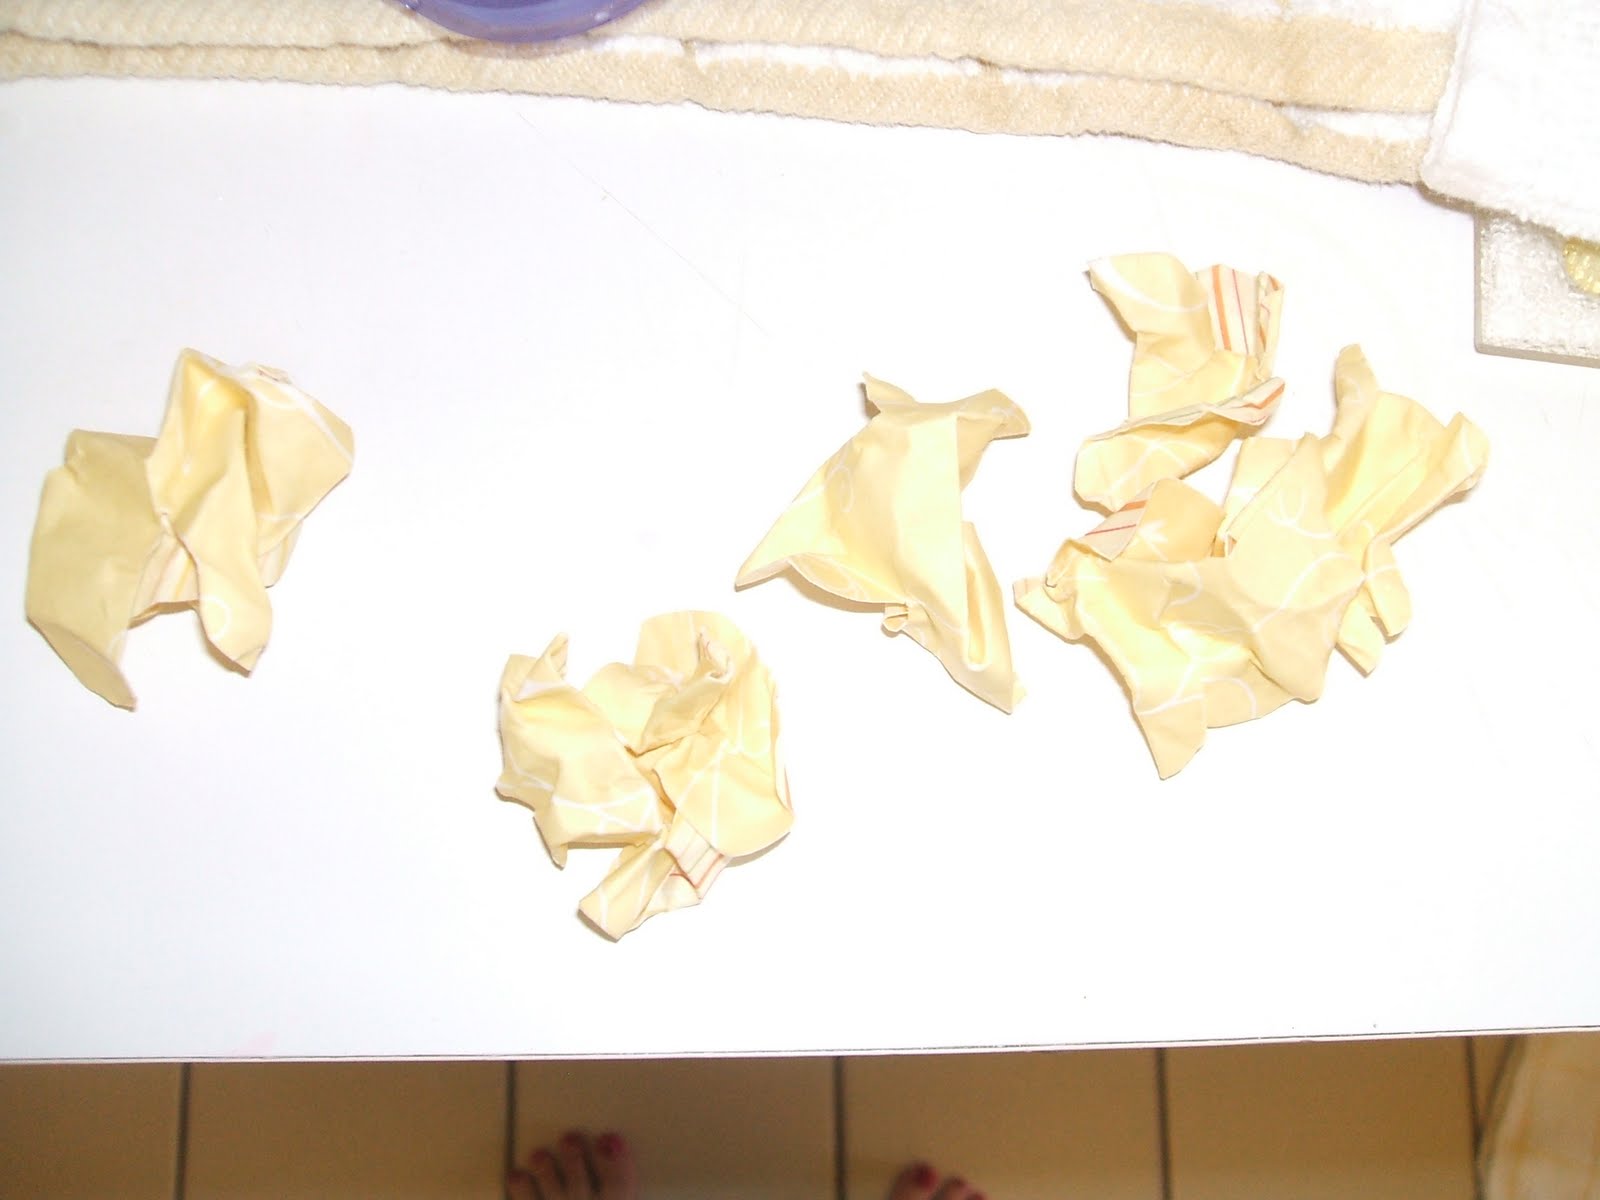
Next, I wet my hand to get water onto the DSP without soaking it.  Then I crumpled each one into a ball.  I let them sit like that for about 5 minutes.

Next, I opened up each flower and shaped it into a cup shape.  I set them upside down on a piece of paper towel and let them dry.  If you have a heat gun, you can dry them that way.  Just be careful not to burn them!

The last step before assembly is to sponge each flower with ink to highlight the edges and wrinkles.  Here I used Peach Parfait.  To assemble, I just use monoadhesive to attach each layer.  A brad, button or pearls make great flower centers.  You could also scrunch up another circle for the center.
Happy stamping!
Jana Signature

Sunday, June 19, 2011

Big card with dimensional flower

I needed a big card for work so lots of people could sign it.  This card is 5 1/2 X 8 1/2, a full sheet of cardstock folded in half.  The DSP layer is 4 X 7, and the Poppy Parade layer is 4 1/2 X 7 1/2. I used the scallop corner punch on the corners of both layers as well as on the sentiment piece.  I tied Whisper White satin ribbon and Daffodil Delight narrow taffeta ribbon around that layer before attaching it to the card base.
Come back tomorrow for a tutorial on how to make the flower with no special tools!
Happy stamping!
Jana Signature