
Here's my tutorial on how to make a fun dimensional flower without any fancy tools. (Click here to see the finished flower on a card.) I love my Big Shot, but I couldn't bring it with me on my business trip. Here's how I made a flower with just DSP, a pen, scissors and a sponge.

Start by tracing circles onto the DSP or cardstock. I made 3 different sizes of circles, using the top and bottom of a mug and the bottom of a glass.

To make the circles into flower shapes, I cut out the circles. Then I cut slits in towards the center and rounded off the edges. For the biggest circle, I cut 5 slits to make 5 petals. The others have 4. Don't worry about making them perfect because they're going to be all crumpled up and layered anyway.
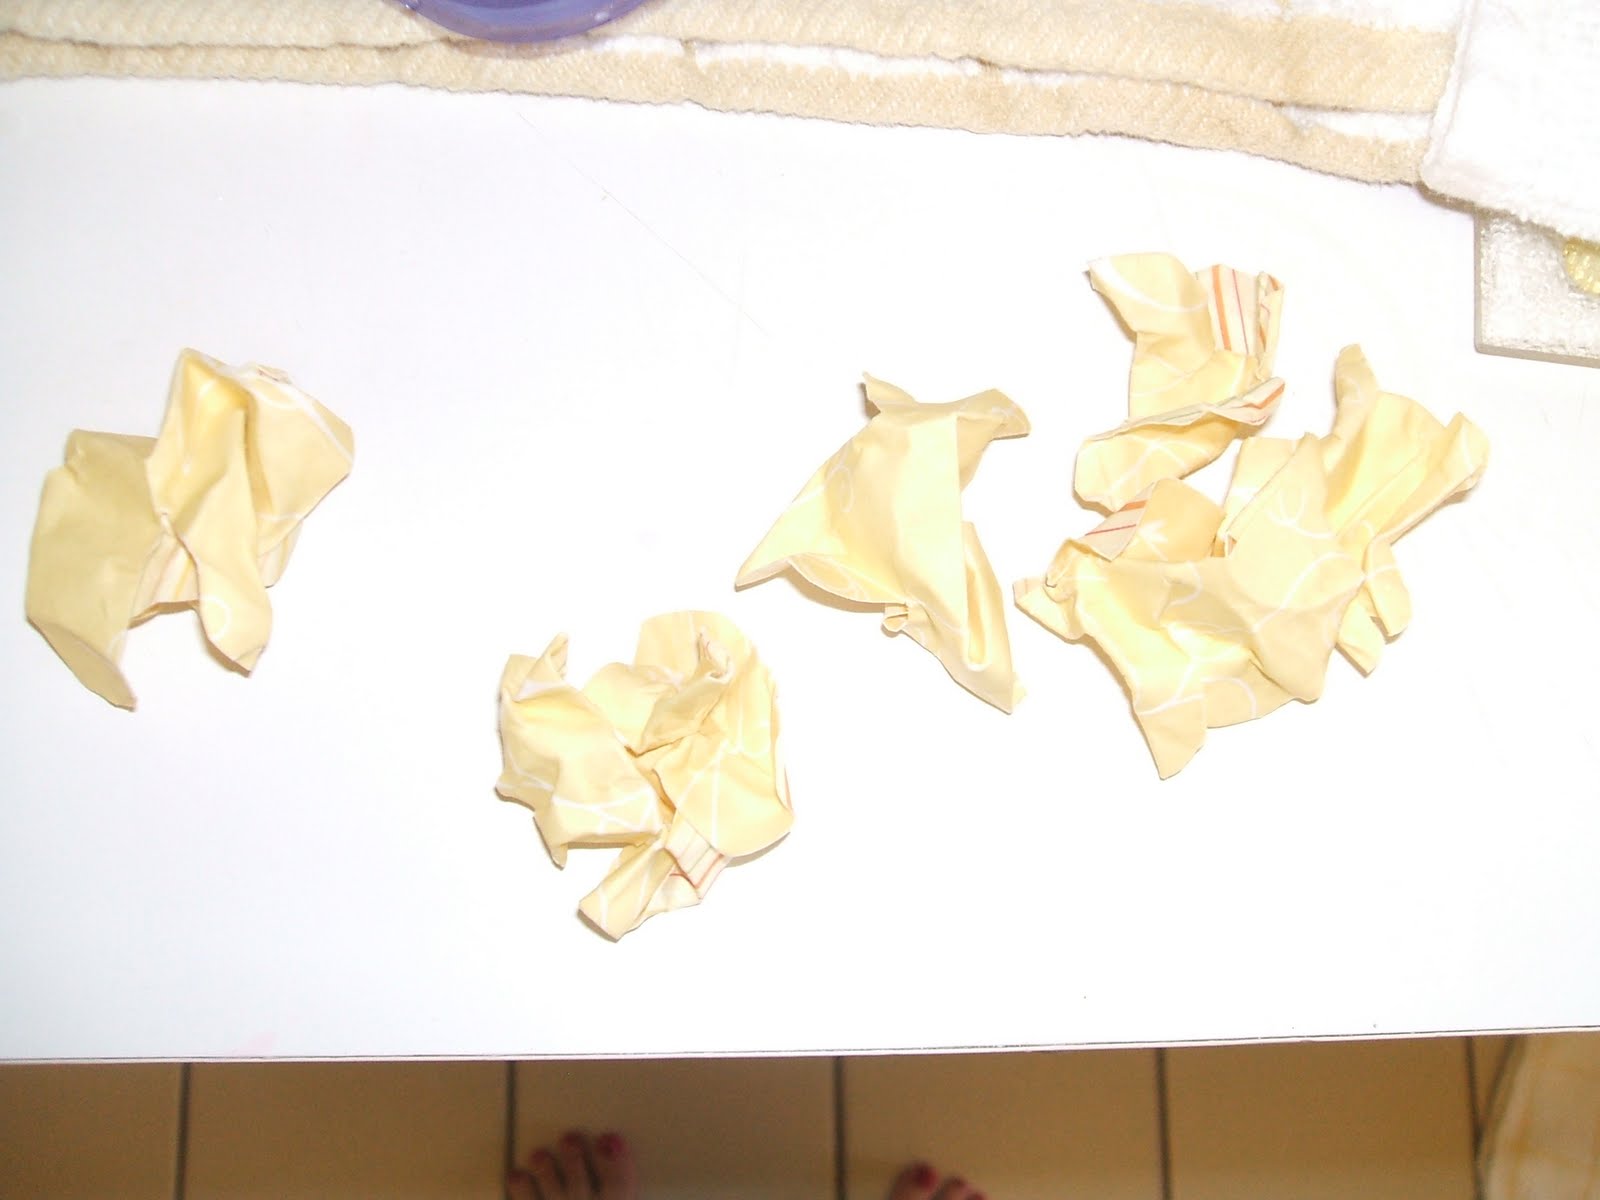
Next, I wet my hand to get water onto the DSP without soaking it. Then I crumpled each one into a ball. I let them sit like that for about 5 minutes.

Next, I opened up each flower and shaped it into a cup shape. I set them upside down on a piece of paper towel and let them dry. If you have a heat gun, you can dry them that way. Just be careful not to burn them!

The last step before assembly is to sponge each flower with ink to highlight the edges and wrinkles. Here I used Peach Parfait. To assemble, I just use monoadhesive to attach each layer. A brad, button or pearls make great flower centers. You could also scrunch up another circle for the center.
Happy stamping!


1 comment:
I like how you made something just using what you have- great project with kids or show to a class
Post a Comment